
You notice your car’s tint bubbling, peeling, or becoming purple, and it gets to you. You may have thought, “I’ll just peel it off myself.” But DIY tint removal more times than not turns out harder than you expect. You may end up with scratched glass, adhesive stuck on the glass, or even destroyed defroster lines.
The DIY Challenge vs. Professional Results
If your existing tint is awful, it seems like you can just try fixing it yourself. Heat, glue, knives, you might damage your windows instead of fixing them. That’s where MH Tint Studio comes in and saves the day with expert, safe, and quick removal of tint. Allow us to explain what we do so you can decide, DIY or let our experts have a perfect finish.
Why Remove Old Window Tint? Common Reasons to Replace Your Film
Old tint not only makes your car look unsightly, it can create problems of safety, comfort, and legality as well. That is why in the majority of cases it is most preferable to remove it.
Tint film fades with time. The once clean look turns to bubbles, cracks, or a purplish hue that disappears. It ruins your car’s looks and makes it look older than it is. Even worse, peeling tint blinds you, especially at night or when it rains, and driving becomes hazardous.
Another explanation is legality. There are some pretty strict tint laws in certain states, and if your film is too dark or is peeling, you’ll fail inspection or even be fined.
Finally, tint that’s no longer working the way it should no longer screens out UV rays and heat like it used to. That means a warmer interior, less protection for your skin, and more wear on your car’s upholstery.
Essential Tools and Materials for DIY Tint Removal
If you’re determined to try to remove tint on your own, working with the right tools will prevent frustration and the risk of ruining your glass.
A successful DIY tint removal is not simply about ripping film, it’s planning ahead. You’ll have equipment that loosens the adhesive, peels out the film smoothly, and removes adhered-on glue. Without them, the job can quickly turn into a sticky mess.
What you’ll need:
Heat gun or steamer – Helps soften the glue so the tint peels more readily. A hair dryer can be employed, but it’s less effective and takes longer.
Razor blade or plastic scraper – Handle with care. A plastic scraper is better for beginners to avoid scratching glass.
Spray bottle solution – A mixture of soapy water or ammonia and water loosens adhesive most effectively.
Adhesive remover – Isopropyl alcohol, window tint remover spray available for purchase, or even WD-40 for really tough glue.
Black trash bags – the glue is broken down by absorbing heat with the sun and ammonia.
Microfiber cloths or paper towels – To wipe and clean in the process.
Don’t forget to add safety gear:
- Gloves to protect your hands.
- To protect your eyes, wear safety glasses to keep chemicals or sharp fragments away.
- Face mask if you are working with ammonia or strong cleaners.
You have your equipment now to try one of the successful removal methods.
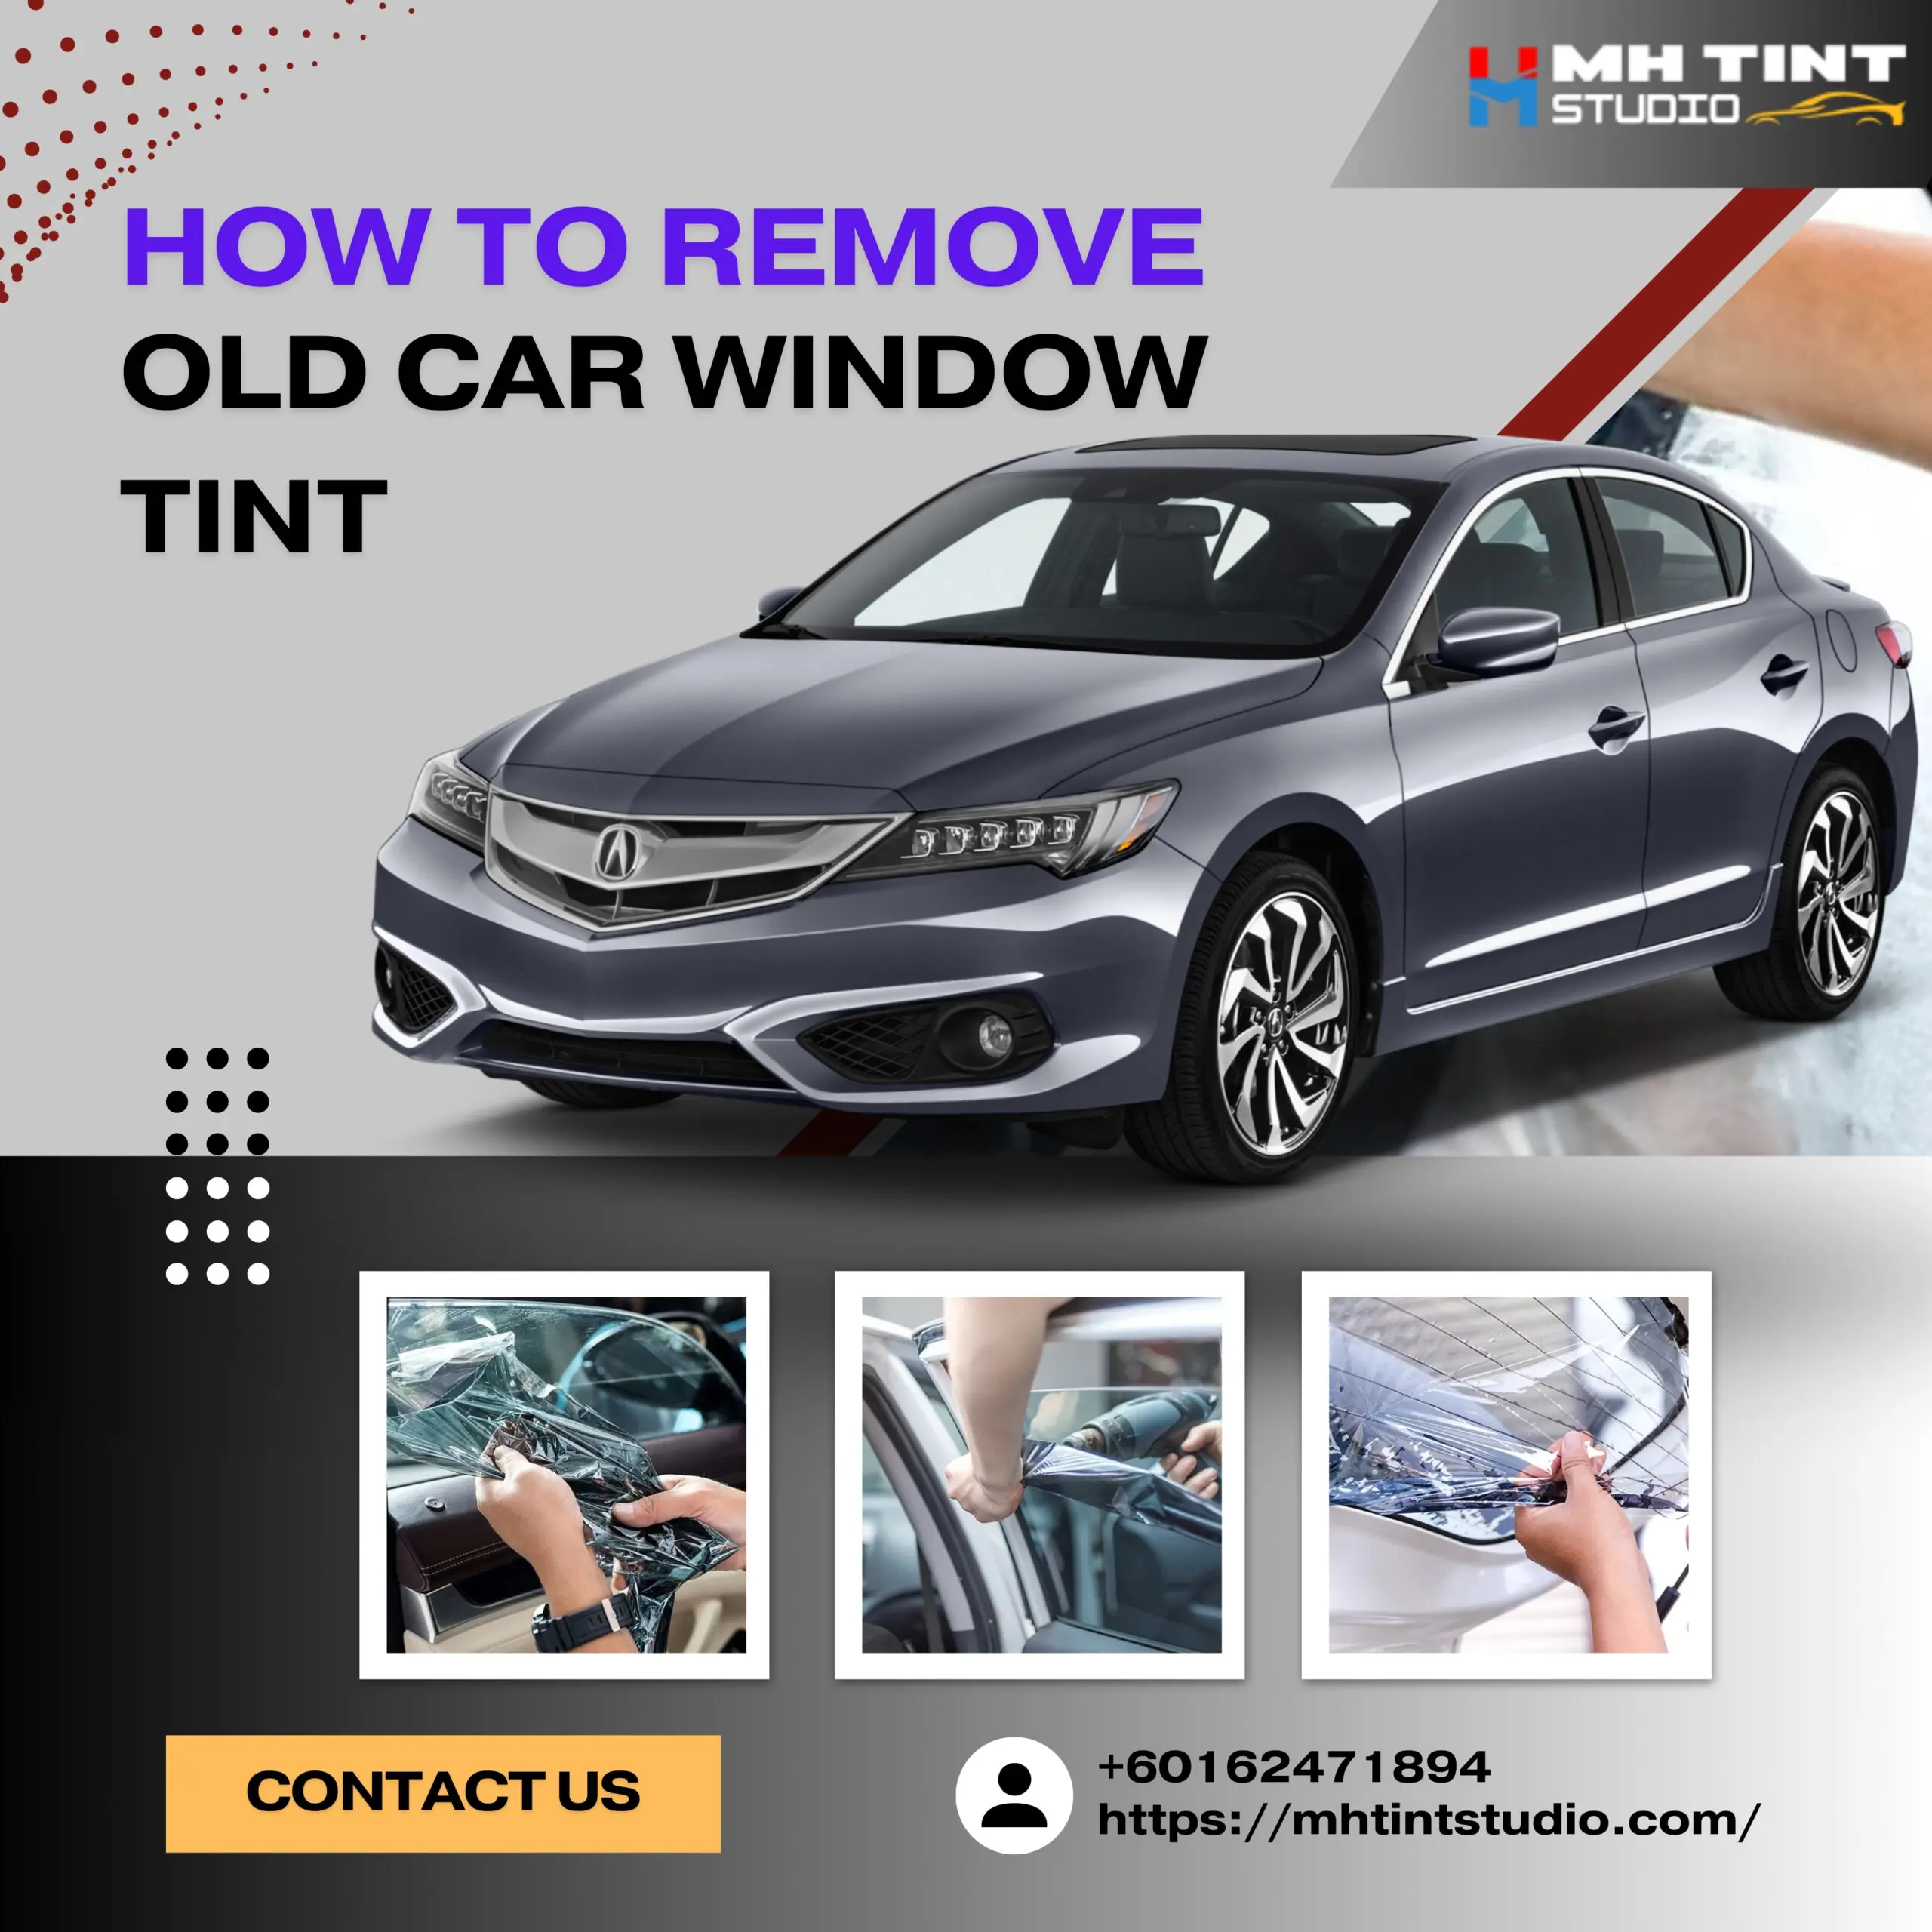
Step-by-Step Guide: The Two Best DIY Methods
There is no one way to remove tint, but two are more appropriate for the do-it-yourselfer: the heat method and the ammonia/sun method. Both work if you will follow the instructions.
Method 1: The Steamer/Heat Gun Method (Recommended)
This is the most reliable DIY method. Heat is used to soften the adhesive so that you can remove the tint in large sheets without leaving too much glue residue.
Steps:
- Prep and clean the window: Clean the glass and roll down the window slightly to expose the top of the tint.
- Apply heat evenly: Use a steamer or heat gun to smoothly warm a corner of the color. Rotate the tool to avoid overheating the glass.
- Lift the corner: Use a plastic scraper or a razor blade to raise the film’s corner.
- Peel slowly: While using heat, remove the tint gradually. This avoids tearing and keeps the adhesive soft.
- Remove residual adhesive: Spray with alcohol, a tint removal spray, or soapy water to get rid of sticky residue.
Method 2:The Ammonia/Sunlight Method (No Heat Tools Needed)
This is a stronger technique and is used best on warm sunny days. It takes advantage of the sun’s power and ammonia to break down adhesive.
Steps:
- Protect the interior: Spray plastic or towels over your panels and seats.
- Spray the tint: In a spray bottle, mix both ammonia and water, then spray the whole window.
- Seal with a trash bag: Lay a black trash bag on the wet tint to seal in the heat. Smooth it down to remove air bubbles.
- Let it sit: Allow the car to sit in the sun for at least one hour.
- Peel carefully: start peeling off from a corner and peel the film slowly.
- Clean up: Use adhesive remover or alcohol to wipe away any leftover glue.
How to Remove Stubborn Window Tint Residue
Even after peeling the tint, some glue usually sticks to the glass. Removing this residue is often the hardest part, but with the right techniques, you can get your windows crystal clear.
Leftover glue can be annoying and hard to clean. If you skip this step or use improper equipment, you can end up scratching your glass or with sticky residue that dusts up. Good, safe methods are the way to go.
Optimal Methods for Removing Residue:
- Commercial adhesive remover – Most frequently, this is the optimal and safest method.
- Isopropyl alcohol – It will dissolve glue nicely without harming the glass.
- WD-40 – Softens the residue to allow simple cleaning.
- Vinegar – A gentle home remedy; works well on lighter adhesive but may struggle with old, thick glue.
Technique Tips:
- Spray your selected solution directly on the residue.
- To release the glue, let it sit for a few minutes.
- Remove the residue using a plastic scraper or a razor blade, with care.
- Clean off with a microfiber cloth.
Special Considerations: The Rear Window and Defroster Lines
Rear windows are hazardous. Defroster lines are narrow, and one wrong move can ruin them, and a speedy tint removal job becomes an expensive repair.
DIYers overlook the danger to rear windows. Horizontal defroster lines are thinly conductive material that heats your window. Cutting or scratching them will make them useless, and a replacement rear window is costly.
Safe DIY Techniques
- Avoid razor blades on defroster lines. A pinprick can destroy a line.
- Take caution while using a steamer or heat gun. avoid keeping the heat in one place.
- Plastic scrapers are your friend. They’ll take out tint without scratching.
If in doubt, it is better left to a professional. At MH Tint Studio, we have the equipment and expertise to remove tint from rear windows safely without damaging defrosters or glass. Having a professional do it saves time, stress, and money in the long term.
The MH Tint Studio Difference: When to Call the Professionals
Taking off old window tint is simpler said than done, but trying to do it yourself ensures scratches, destroyed defroster lines, or a bonded-on goo. That’s where M&H Tint Studio comes in handy.
DIY Dangers: Most vehicle owners have no idea how hard it is. Some of the problems are:
- Breaking the color into hard to remove fragments.
- Scratching or damaging defroster lines on rear windows.
- Leaving behind sticky residue that attracts dirt.
- Squandering hours or even days trying to get a clean removal.
Why Choose MH Tint Studio
- Expertise: We have the right equipment, experience, and techniques for safe, clean removal.
- Efficiency: We work quickly and accomplish the job with minimal time wastage and aggravation.
- Guaranteed Results: We accomplish damage-free windows and sparkling glass every time.
Don’t risk damaging your car windows or wasting your time. For the best finish and peace of mind, let the professionals at M&H Tint Studio take care of it. Contact us today for a quote and experience professional tint removal like never before!
FAQs
What Is The Easiest Way To Remove Old Tint?
The steamer or heat gun method is typically the easiest and safest for homeowners. But the simplest of all is to let the professionals handle it, such as MH Tint Studio, they do it in a jiffy and do no harm.
Does Wd-40 Remove Tint Glue?
Yes, WD-40 can soften tint adhesive, making it easier to scrape off. However, it’s not a full solution, you’ll still need to clean the glass afterward with alcohol or a commercial adhesive remover.
Does Vinegar Remove Tint?
Vinegar can help remove adhesive residue, especially light or recent glue. But for thick or old tint, vinegar alone usually isn’t strong enough to remove the film completely.
Can Window Tint Be Removed And Reused?
No. Once tint is stripped, it can’t be reapplied again. Using old film leads to bubbles, peeling, and poor adhesion.
Can I Remove Tint Without Heat?
Yes, the ammonia/sun process does not involve using a steamer or heat gun as a tool. It still uses the heat of the sun to melt the adhesive so that peeling is possible.
Can I Tint Over Old Tint?
No. It’s not recommended to tint over old film. The fresh tint will not lie correctly, and imperfections in the initial tint will be apparent.